Building the classic Tamiya Stug IV
Text: Bun E. Carlos
Photos: Jimmy Olsen
Did you ever feel like opening the window, just like Peter Finch in the Award winning movie "Network" did? Screaming that your not gonna take it anymore??? Well, in a nutshell, thats how I feel about the 800+ parts in the latest kits.......not to mention the near $60 price tags on some of these newer efforts. The last couple of years I've been going to Local and Not So Local Shows and getting older kits for under ten bucks. WHY??? Just read..............................
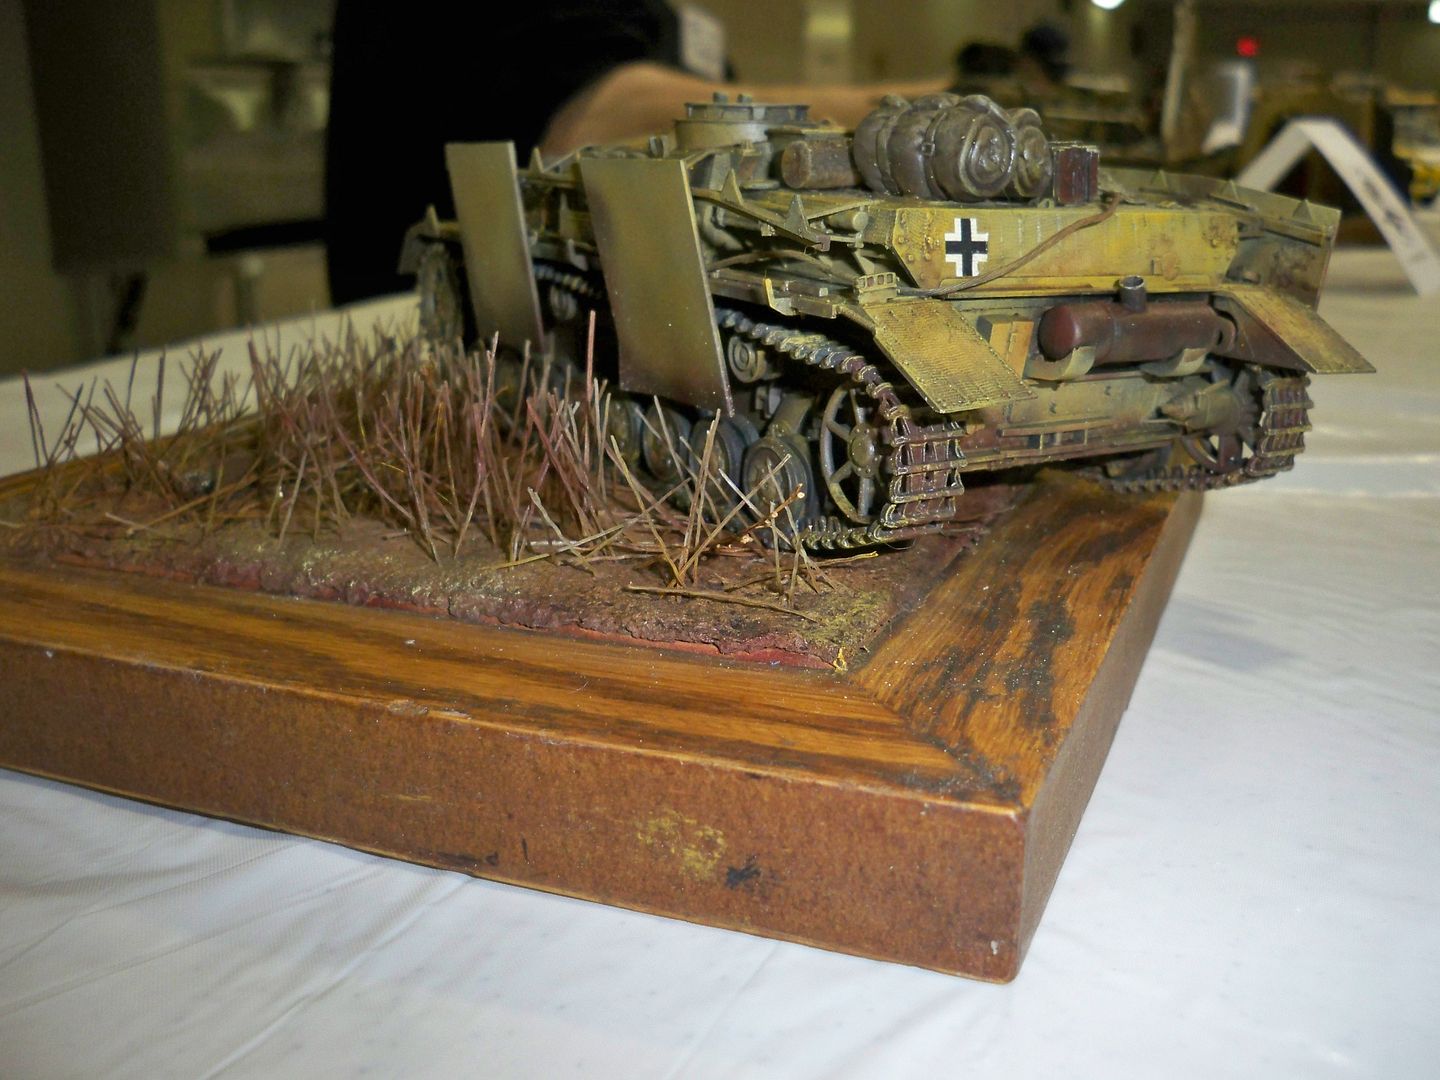
Armor Modelers have it made. We can do whatever we want and make it work as long as we have an ample supply of mud, tarp, figures, foliage and added equipment......ABOVE all, imagination. God, I love it so. I've been picking up older TAMIYA Armor for very cheap lately and I would like to show you how my Stug IV turned out and some of the things I did to it to bring it up to date.. Most of the kit is box stock, however having several kits/spare parts I decided to go balls out on upgrading her. I replaced the drive sprocket with the spare (they give you two) set from the newer TAMIYA Panzer IV Ausf. H (early)......you must do this because of the addition of the link to link MAGIC TRACK that I used from several DRAGON kits. When the chasis was finished I mounted the hull and did some sanding and prep work for the zimmerit. Some of you already know by my previous builds that I use TAMIYA Polyester putty ......the two part stuff with the lil green tube. After mixing some, I spread it with a toothpick and used the TAMIYA Zimmerit Tools to get the right look! Don't forget to get it on the chassis by the wheels...it was there too. Depending on your mix, it should take no longer that a day or two to dry during which you can fiddle with it to get some chipping done. While my lil stuggie was drying I hacked apart and filled the mold seams on the side skirts. Remember, the real things where not one long run, they were individual sections which you can paint different and also portray battle damage and/or just plain leave off.
After the Zimmerit had dried I started to work on the hull the addition with tool replacement from other kits. My main resource was a set from TAMIYA with a few sprues for Panzers. I also used picture frame wire for the tow cable...........some c-clamps were also placed in some places. During the mantlet construction, a liberal use of TESTORS liquid glue was used to soften the plastic and a stipple effect was used with an old brush. I also stippled the rear muffler just because I could. I'm tellin' ya..........i love it when an effin plan comes together.
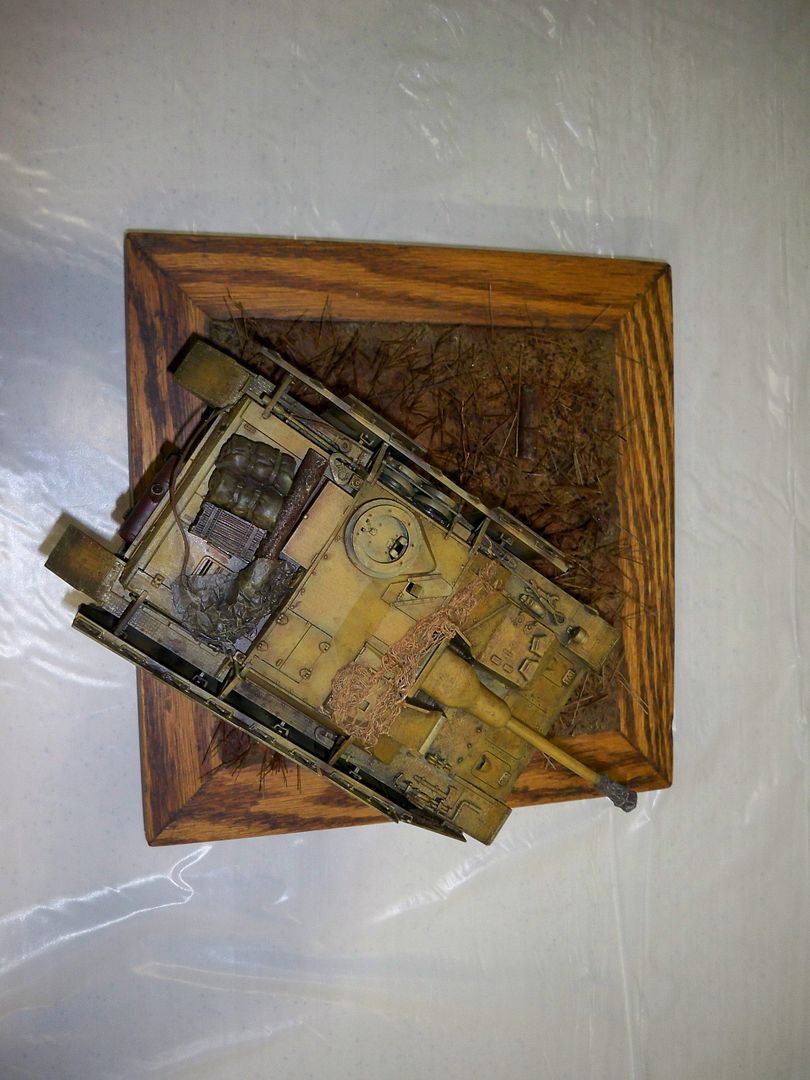
I broke in to my resin stowage box and got a few items that the crew would use in the field, mainly some boxes and sleeping bags. I also tied off a small piece of aluminum foil on thegun barrel for a muzzle cover.........yes, they had those too. Before I sent it to the paint shop, I added the electrical leads to the light. At this time the side skirt brackets were sanded and seams filled and then mounted on the kit without the side skirts. I mixed some green stuff and with a tooth pick spread some weld beads around the mounts to give it a little flair.........I dated a few girls like that too. I then assembled the Magic Track for both sides and after getting the right sag look that I wanted, let it dry.
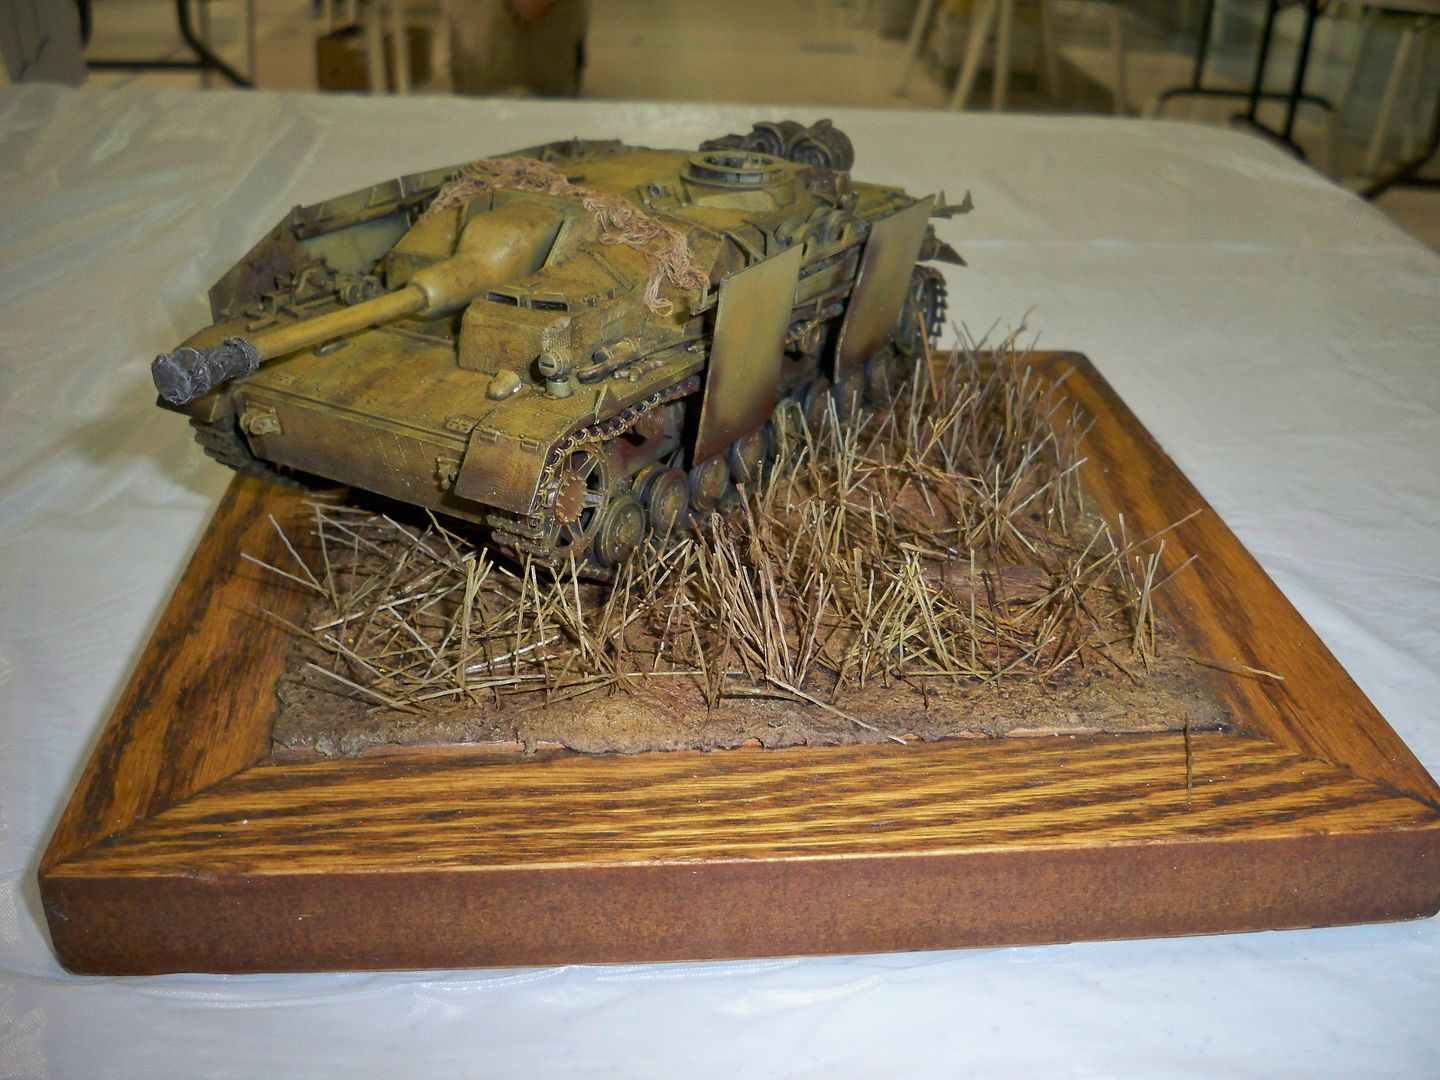
Everything was then painted flat black and let dry. The next day I started to give the tank several progressive shades of Dark Yellow, Middlestone and Buff. When I got the look I was looking for, I did the same to the side skirts. When this was dry I FUTURED it all and started with my oil washes. For me, this is the fun part. More fun that JK's suggested porn sites, but that's another story :) I use Windsor-Newton Dick Van Dyke Brown cut with turpentine.
A little dry brushing and mud color was applied and the Stug was given a few coats of Dullcote. During this process the base was made from real dirt from Italy and paint brushthingies for tall Italian grass. One of the gigs against me....that I've noticed SEVERAL people doing now, is that for the last twenty years I've gone against the grain and mounted my kits/subjects off the base and in a coming or going mode. It's my thing and I love it :) The Stug being no different. I put a drop of white glue on the scope and placed a VERLINDEN net section across the top...........and it was done.
I'm happy to say that the first time it was entered ...........at the inaugural Chattanooga Show in January....... it took a Silver and won Popular Best of Show. Not bad for a 40 year old kit :) NOTE: I never/ever enter a kit under my own name......it's alwayzz something unusual...... This time, I entered as "Tor Johnson." (google him) .....we are modelers, we can do that. Have fun and I'll send more to JK soon!
Bun E. Carlos
Pictures by Jimmy Olsen.......that Dave kid from Michigan :)
(Sorry Dave, but I did warn you about him didn't I. It seems that Bun and Big Pussy (another personage who needs to remain in Witness Protection) assigned our Show Photographer, Dave Wells, the Nom de Guerre of Jimmy Olsen. Why? Becasue he's younger then them (but then seriously, who isn't?), he was taking pictures (get it???? Jimmy Olsen????) and they are too brain damaged to actually remember his name!)